Friday, June 27, 2014

4th Of July (Independence Day) Delicious Jello Flag


   Hello my lovely kittens! Today I will be showing you how to make a delicious 4th of July treat that will be a hit at any party! Enjoy!


              What you need:
                 2 Red Jello Packs
                 2 Blue Jello Packs
                Whip Cream (canned)
 2 Glass Containers (One that fits in the corner of the other see step 1)
                 2 Pots and bowls
                 Whisk or spoon


     Step 1:  Get out your jello, glass containers, and any thing else you might need ready. (Pots, whisk, spoon, knife, ect...) Be sure to look at your jello's instructions before you do anything.


                    Step 2: Heat your jello according to the instructions on the backside of the package.
                                                                Pour into containers.
                         (You may have a bit extra blue, you can always chill that in another bowl.)


                                  Step 3: Chill. Chill In refrigerator for at least 4 hours or until firm


          Step 4: Cut. Cut out a rectangle the size of the blue jello in the upper left hand corner of the red.


     Step 5: Use your knife to release the blue jello from the sides of the pan. If needed use a spatula on the bottom.


  Step 6: Decorate. Now I know I definitely did not have enough room to put 52 stars and 13 stripes, but this is the best I could come up with.


          Step 7: Refrigerate. Refrigerate finished product till the time comes for it to be served! :)

I hope you have a wonderful 4th of July, be safe with your fireworks, and remember have lots of fun!

Wednesday, April 9, 2014

Maybelline Big Eyes Reveiw


 Good evening lovely kittens! I've been dying to write this review for ages and finally got around to finishing it. I hope you enjoy! 


  First, I'd like to say that this is a very nice product and I like the idea of two different sizes of wands, for the upper and lower lashes.

  Here is a close up view at the packaging. I like the bubble effect. And the colors are beautiful! Now for the wands!

  This is the upper lash side. The brush is slightly twisted. 
                                                This is the lower lash side. It is so small it fits perfectly on my lower lashes and my baby inner upper lashes to make everything look covered.
Now on with the review!

My eye without the mascara. (I did curl them.)


Now with one coat


And the lower lashes!


I must say, I do like this mascara, and I would definitely buy again!

If you would like to purchase this mascara, I recommend you follow the link below and get your self some because I assure you, you won't regret it!


Monday, April 7, 2014

Delicious and Totally Easy-to-Make Pizza Rolls

   Good afternoon my lovely, lovely kittens! So recently I found a delicious pizza recipe that is super fast and is really easy to make so I thought I'd show you!


                       Ingredients:

1 1/2 cup of Bisquick or flour mixture (down below)
1/3 cup of very hot water
Pizza sauce
Cheese
Pepperoni, ham, turkey, ect... (optional) 


                                   Flour Mixture:

                            2 cups all purpose flour
                            1 tablespoon baking powder
                            1/2 teaspoon salt
                            2 tablespoons melted butter

Combine dry ingredients in a small bowl and add melted butter.


                             Step 1: Preheat oven to 450 °


             Step 2: Add hot water to Bisquick or flour mixture.


           Step 3: Stir around 20 times to form a flaky dough and place on lightly floured surface


                       Step 4: Roll in to a rectangle-like shape


                                    Step 5: Add toppings


                               Step 6: Roll and cut into spirals


           Step 7: Place spirals on a pizza pan or cookie sheet and bake in the oven for 10-12 minutes


                                Step 8: Let cool and enjoy!


Thursday, February 6, 2014

The Heart Bun (The Beauty Department)


Visit the website at:  http://thebeautydepartment.com/2014/02/the-heart-bun/

Sometimes they delete their tutorials really fast, so I wanted to make sure you guys got to see it! Enjoy! 

THE HEART BUN


PHOTOS/POST/GRAPHIC DESIGN: KRISTIN ESS
What can we say? We love love and tis the season! Got a bit inspired by all the Valentine’s Day buzz and decided to heart up. I did my best to make this something wearable for everyone and something that doesn’t look too young. It’s pretty simple and could be a cute look for a Valentine’s Day date. Here are the 7 simple steps to finding love in the hair…
You will need: bobby pins, 2 small ponytail elastics, a comb.
  1. Start by adding a little wave to your hair. Wand waves are great for this! Here we usedthis wand by TiGi which is only around $30!
  2. Next put your hair half up, separating into 2 small ponytails right next to each other.
  3. Now twist the right ponytail in a downward motion and slide a bobby pin into the base near the ponytail holder. This will keep it anchored as you twist.
  4. Next, wrap the ponytail up and over as you see in photo 4 to create the top of the heart. Keep twirling in the same direction.
  5. Add bobby pins to these 3 places.
  6. Repeat on the other side.
  7. Add one more bobby pin at the bottom of the heart for extra security.
Here is an extra shot a little further away + a shot from the front. We think it’s super cute and wearable because it just looks like a simple half up bun situation from the front.
Hope you all have a nice Valentine’s Day!

Monday, January 13, 2014

A Cat's Guide To Taking Care Of Your Human (YouTube Video) And Why No Posts


I totally love this!!

 I know you kittens need an explanation of why I haven't posted lately, let me explain:

So first my camera broke, whenever I took a picture it was just dark (My Dad wanted to see if it worked when he even pointed it at the sun and nothing). Then my Dad wanted to get a new case for my computer (Thanks Dad by the way :D) and when he did he decided to update it, so I was without a computer for about 2 months. When it was back at the beginning of 2014, I went on here to post about the D.I.Y. Galaxy Shoes and the pictures I took were deleted.  I'm very sorry about that. And I do thank you for sticking with me. Good thing though! I have a new camera and a almost new computer so I will be posting more hopefully by the end of this month. :)

Thanks again! And pet a kitty for me! :D

Monday, September 30, 2013

Super Easy Candy Corn and Pretzel Bark

Good afternoon Kittens!     
Today I have a very easy recipe for you I hope you enjoy!


                                                                                       This was the first time I made it, the second time
                                                                                                                               I put more nummies on it!                                                             
                                                                                        

                             What You Need:
                  1.Parchment paper
                  2.White Chocolate (chopped)
                  3.Dried Cranberries
                  4.Candy Corn
                  5.Freezer
                  6.Cookie Sheet


Directions:
1. Line an 8-inch square baking pan with parchment, leaving an overhang on 2 sides.

2. Heat the chocolate in a double boiler or medium heatproof bowl set over (but not in) a saucepan of simmering water, stirring often, until melted and smooth.

3. Spread the chocolate in the prepared pan and sprinkle with the pretzels, candy corn, and dried cranberries. Chill until firm, about 1 hour.

4.Remove the bark from the pan and break into pieces.


  The second time I tried this, I ended up not putting any corn candies because it made it just to sweet. That, and I cover it with more goodies. I forgot to take a picture so I'm very sorry for that. 

  Well! I hope you like this and I will see you next time!

This is a picture of what theirs looked like.


Monday, September 9, 2013

Review: NEW Maybelline FIT Me! Shine-free™ Foundation

Good day pretty Kitties!

A couple days ago I went to Wal-Mart, and picked up a few things. One of them was this new foundation, and it was no ordinary foundation either! No! It was in a stick! I never saw anything thing like that so I decided to get it. Anyway I wanted to do a review so enjoy!


  Name:  NEW Maybelline FIT Me! Shine-free™ Foundation
Shade: 115 or Ivory
     Rating: 7 1/2 Out of 10

I love it!


This is what the product looks like. 
This is in the shade 115.


This if my face before.


How To Apply:  Just apply in streaks where needed. You can use a brush to even out, but, I prefer my fingers!


The coverage is light but if you want toy can layer to medium or heavy!

So This is before! 
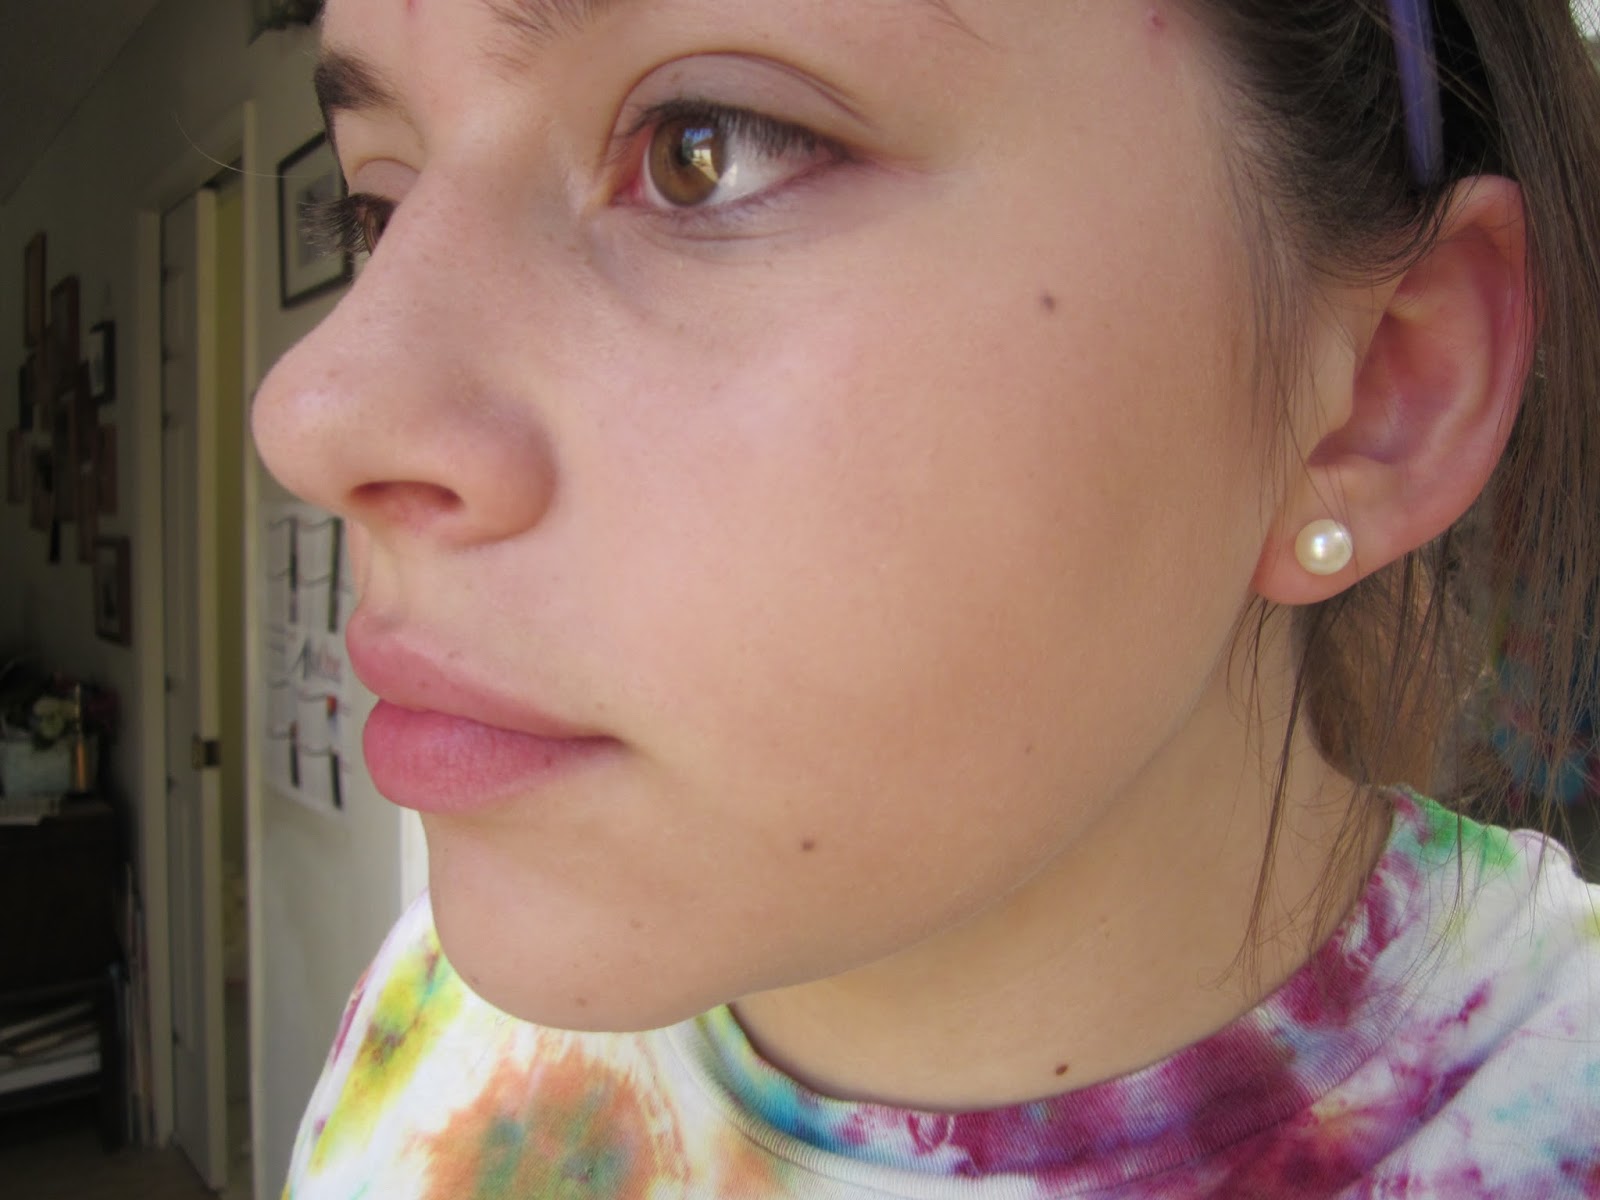
As you can see, I have alot of redness near my nose.


                                       And this is after!
                        It covered up the redness so well!


I think compared to the other foundation I've tried, this is alot easier to use, and you don't have the hassle of having to use a brush. It's not tacky so you really don't have to use powder foundation on it either! 

I think if I were to rate I would give it a 7 1/2 out of 10! I will definitely purchase this again! 

If you would like to see a video review click or copy and paste the link below!

http://www.youtube.com/watch?v=-KVzF0ltxBU